

The Web Client is the preferred method for accessing PureConnect (CIC). This is a streamlined, easy to use environment that allows for all of the features of CIC without the need to install separate software.
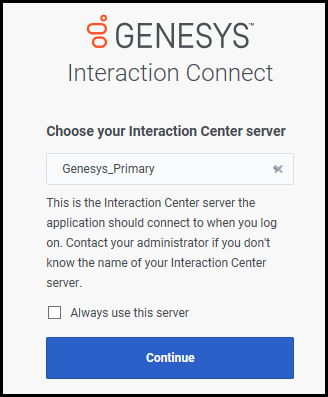
The first screen you see will ask you to choose your Interaction Center Server. The selected server should be Genesys_Primary. Do not change this setting unless you are asked to.
Logging In
For those users, including generic accounts, that do NOT have a name.# account, you will need to choose the Interaction Center Authentication method and login with your CIC credentials.
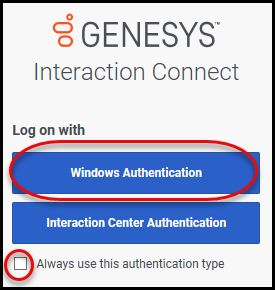
The first screen will ask you how you want to log on. Click the Windows Authentication button. To streamline your experience please check the box Always use this authentication method and you will not have to make the selection every time you log in.
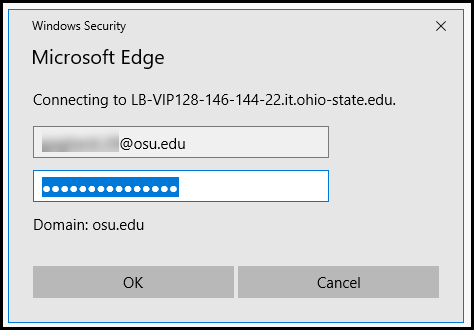
Next you will see a browser specific log in screen. The window may look different depending on which browser, and what version, you are using. The example here is a MS Edge window.
Enter the FULL Ohio State email address of your account in the format lastname.#@osu.edu and the current password. If you are having trouble with your password please reset it at http://my.osu.edu or through the IT Service Desk self service portal located at http://go.osu.edu/IT. Click OK to move forward.
Next choose your station information. This should be directed to you by your department manager. In this scenario, the selection is Remote Number. The two check boxes in the window allow you to control the continued behavior of the web client. The first box, Persistent, allows you to maintain connection between calls. You will want to check the box. The second box is Use this station automatically the next time I log in which speeds up your log in process. Typically you will log in using the same station information every time. You should check this box.
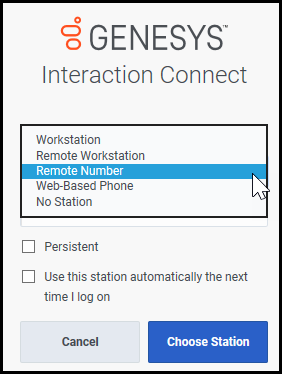
One the Station Type and Number have been entered click the Choose Station button to continue.
Workgroups
The Workgroups you are assigned to will appear as tabs across the top of your screen. You may view the queue of each workgroup by click on the tab. Your current interactions will appear on the My Interactions tab. This is the panel you will want to leave visible so you can manage the interactions coming into your station.
Controls
You can activate queues, change your status, add status notes and view your profile information using the controls at the top of the screen.
The first button is a Dial button allowing you to click it, type in a phone number and place an outgoing call through the call client.

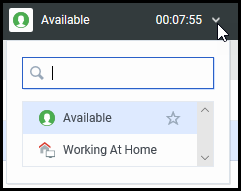
Next is the Status field that allows you to set your status and control your availability to take calls.
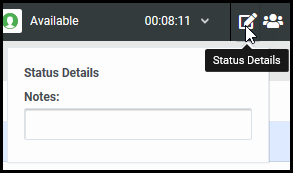
Next is the Status Details field that allows you to add a note to your status providing further information beyond “available” or “gone home”.
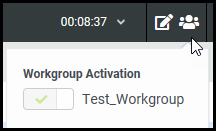
As a user you may be in multiple workgroups at any given time. If you need to activate your deactivate a particular workgroup you can do so by clicking the workgroup activation icon and sliding the toggle button on or off. If you are not in multiple workgroups, or you do not have permissions, the button will be grayed out.
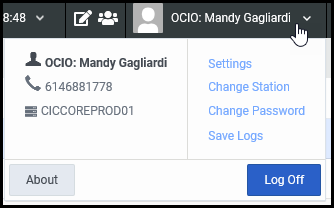
Finally, you can change your settings, station, password and log off using the profile button. Click the down pointing arrow to the right of your name to open the menu. From here you can modify your settings, Change Station information, Change your password and look at log files (this is not something you will typically need to do).
Modify Your Environment
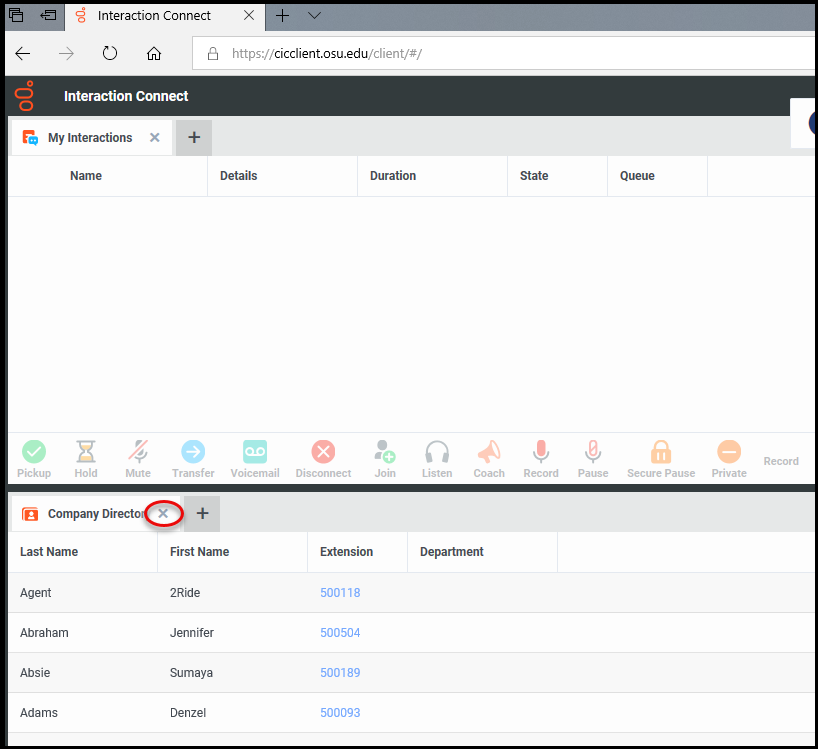
When you first open the client you may see a Company Directory tab open across the bottom of your screen. This is not a panel that is typically used and can slow down your experience. Click the X to the right of the tab name to close any tab.
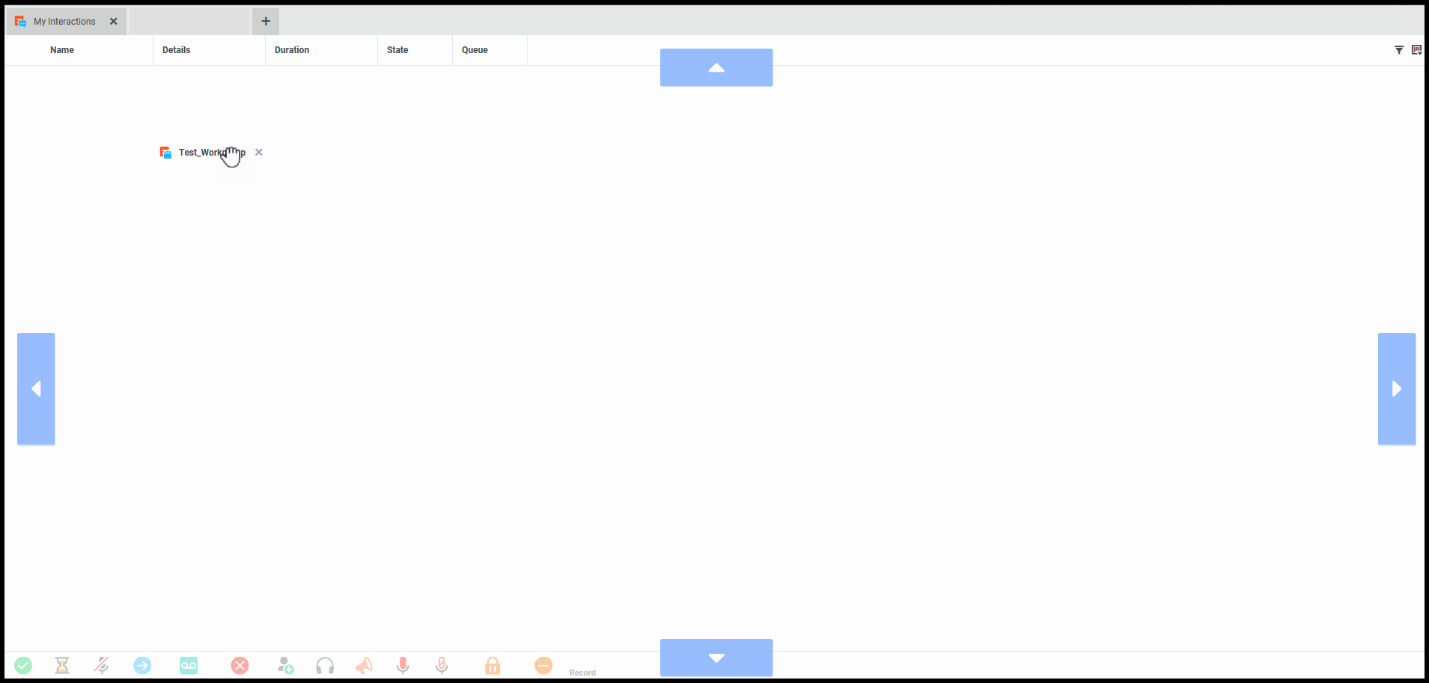
We also can move panels on the screen to one of the four different quadrants allowing you to customize what you see where. Click and hold on the tab name and drag the tab around the screen. Blue areas will appear showing you where you can drop the panel.
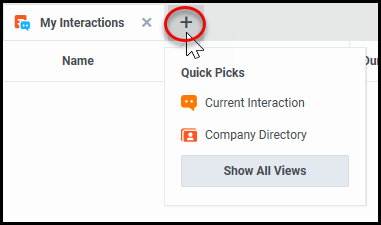
Opening a panel means you are adding a new view. Click the + and choose Show All Views.
This will open the Add View window. Views exist for Queues, Interactions, Directories and other Extras. Click on which type of view you would like to add. If there are multiple views for that type you will need to search for the correct one by typing in the name into the search field.
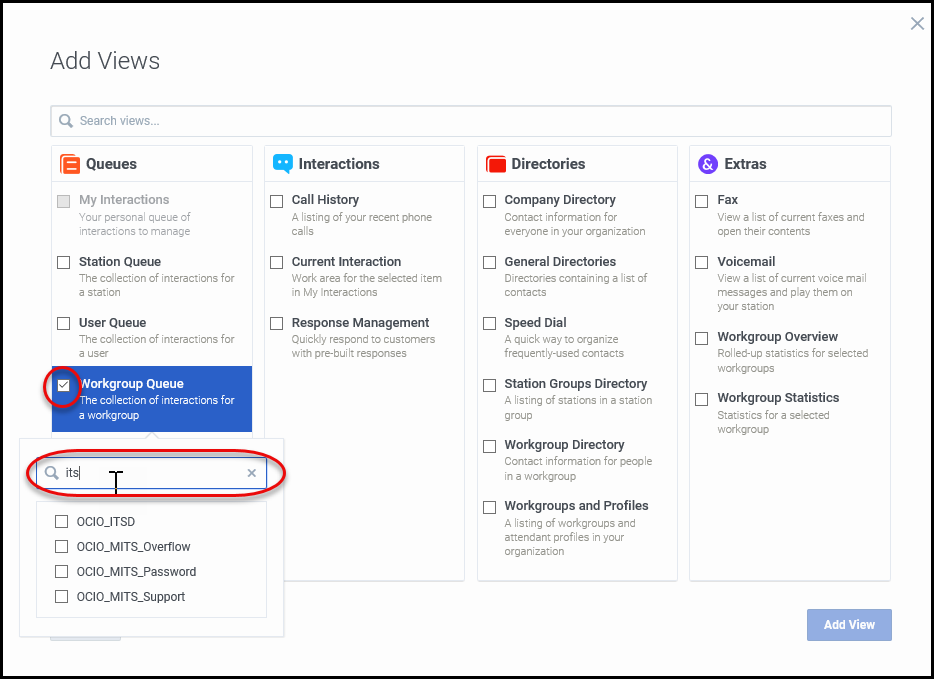
Once you have found the correct view place a checkmark in the box and click the Add View button.
Answer A Call
Start by making certain you have your workspace tab set to My Interactions so it is easier to accept an incoming call. If you are using Skype for Business then your first interaction will come through the Skype call interface. Accept the call and do NOT close the Skype for Business call window. If you do you will have to accept it every time you take an interaction. That is not necessary. Once the call is accepted through the Skype interface your Interaction Client will start distributing calls to you if your state is set to Available.
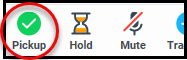
When an interaction comes in the control bar at the bottom of the My Interactions tab will become interactive. Click the Pickup button to accept the call. If it is not accepted in the correct amount of time the status of the agent will move to ACD – Agent Not Answering. Once the interaction is accepted state will move to Connected.
During the call other buttons on the control panel will become available depending upon the Service Desk you are working at.
Transfer a Call
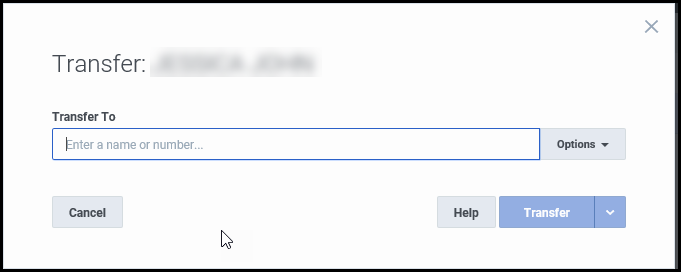
To transfer a call through the interaction client click the Transfer button to open the transfer window.

Within the Transfer window you can type the name or number of the person or area you need to transfer the call to. Click on the down pointing arrow to the right of the transfer button to see the transfer options available.
The options for transfer are:
- Regular Transfer
- Transfer to Voicemail (This is NOT a supported feature)
- Park
- Consult

Disconnecting a Call
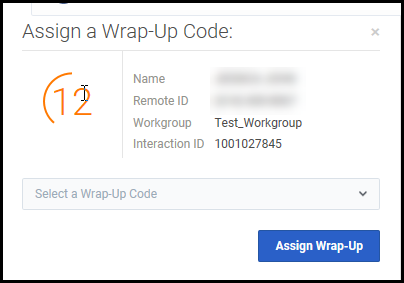
When a call is complete the caller will hang up or you may disconnect the call by clicking the Disconnect button. Once a call is complete you may see a Wrap Up Code window, depending upon the Service Desk you are working at. If you do use wrap up codes be certain to set the appropriate one and change your state back to Available so you are ready to accept the next interaction the system sends.
To use the Web Client, start by visiting the website http://cicclient.osu.edu
Last modified: Sep 15, 2020