

Supervisors have the ability to assign queues to their agents or assign agents to a queue.
Through User Management a Supervisor can manage an individual agent in their contact center. Through Queue Management a Supervisor can manage entire Queue's at once.
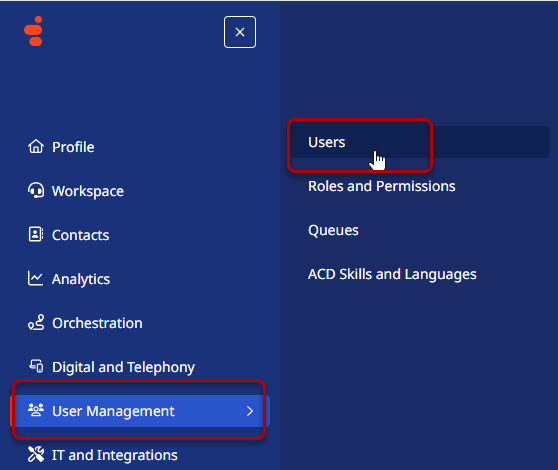
To access User Management select Menu in the upper left hand corner. Within the menu, select User Management and then Users.
This opens the People interface. The People Interface allows a Supervior to see information about individual users, such as their email address, the area they work in, the last time they have been logged in and also allows basic user management. The abilities of a Supervisor may vary from help desk to help desk. If there are any questions as to capabilities please ask the Help Desk Supervisor of your area.
Search for a User
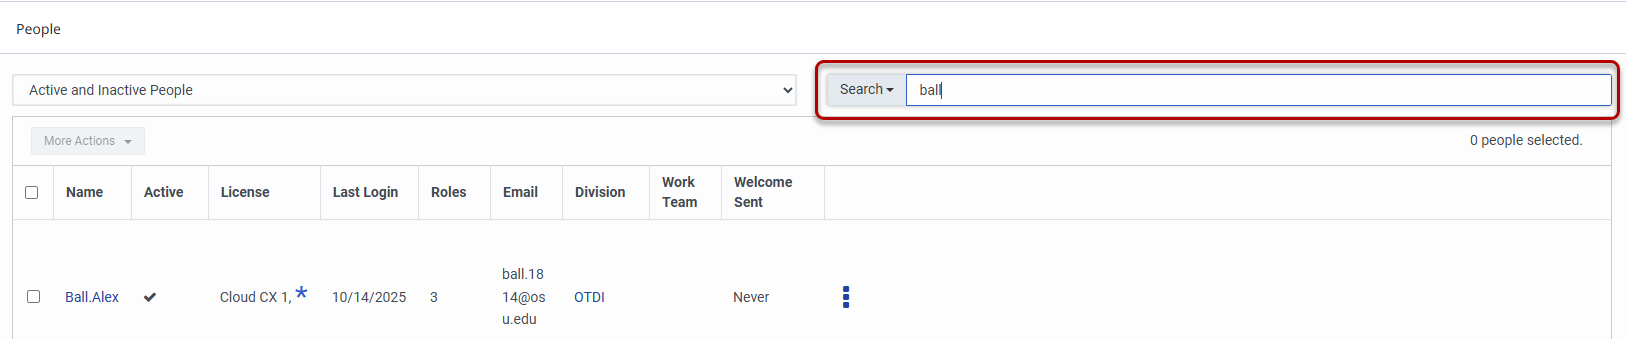
To search for a user use the search field at the top of the People Interface. Enter the name of the user to be managed.
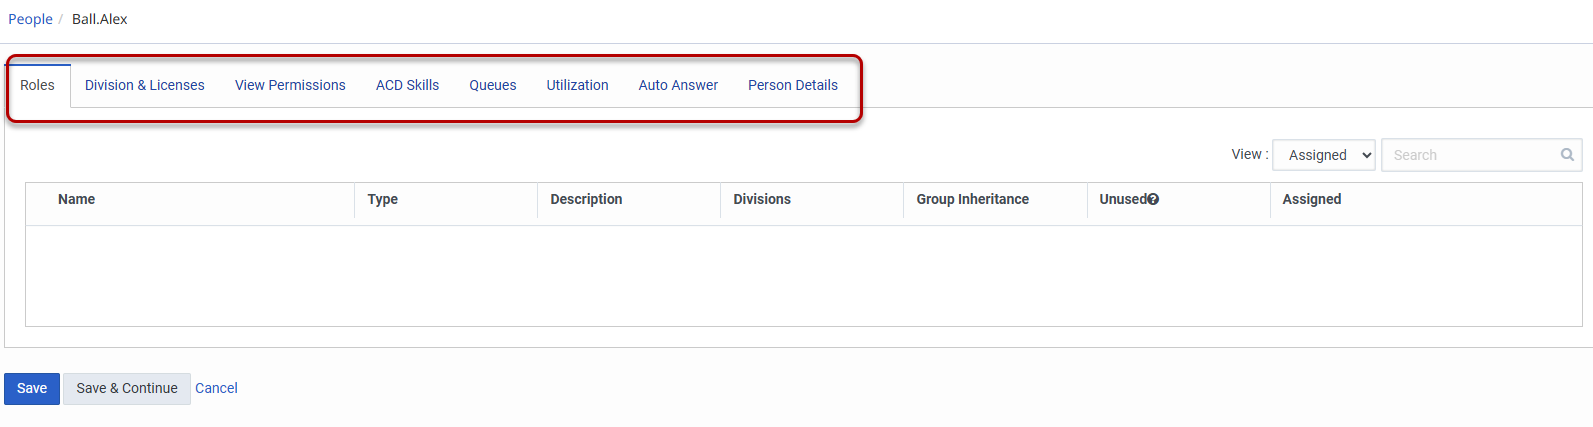
Selecting the name of the user will open the users detailed information. From here users can have permissions changed, be added to Queues, ACD skills modified and more. The tasks that can be performed will vary from contact center to contact center. Please check with your Help Desk Supervisor for additional guidance.
Setting Roles and Permissions
Superviors can modify the roles and permissions of users. The items that can be modified will vary from contact center to contact center so contact your Help Desk supervisor for more guidance.
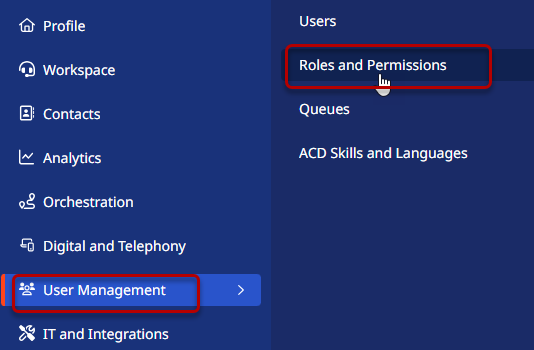
To create or manage a role select Menu in the upper left hand corner. Within the menu, select User Management and then Roles and Permissions.
Roles can be created and added using the Add Role button located at the top of the interface. Selecting Add Role will open Role Details panel. Enter a Name and a Description of the Role.
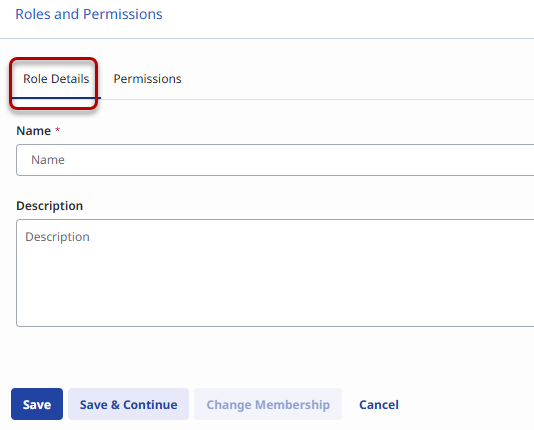
Select the Permissions tab at the top to set the permissions of the new role.
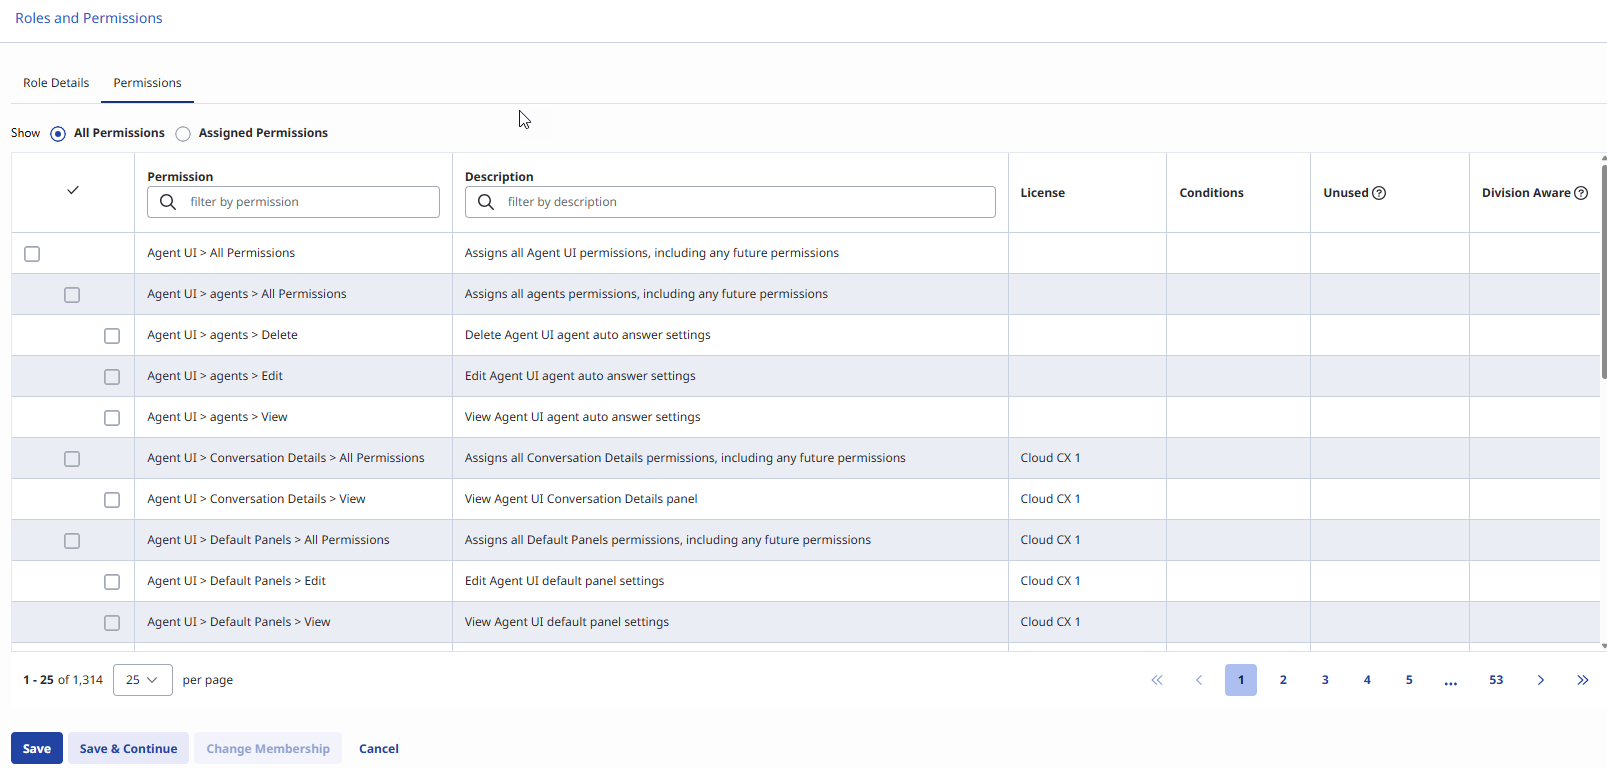
Once the role has been completed, select Save or Save and Continue to complete the creation. If a Role then needs to be added to a User, the use the Search for a user instructions and add the new role.
Adding Agents to Queues
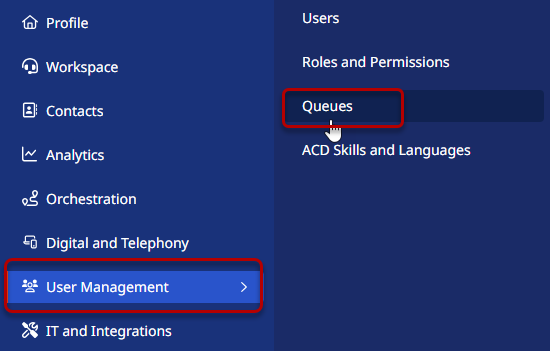
Agents can be added to Queues using the Search for a User instructions and using the Queues tab to add the Queues to the User. To add multiple users to a Queue it is faster to use Queue Management. To access Queue Management, select the Menu in the upper left hand corner, User Management and then Queues.
The Queue Management window will show all the Queues that the logged in Supervisor has access to and can make changes to. Start by searching for the name of the Queue to be modified in the Search field in the upper right hand corner of the window.
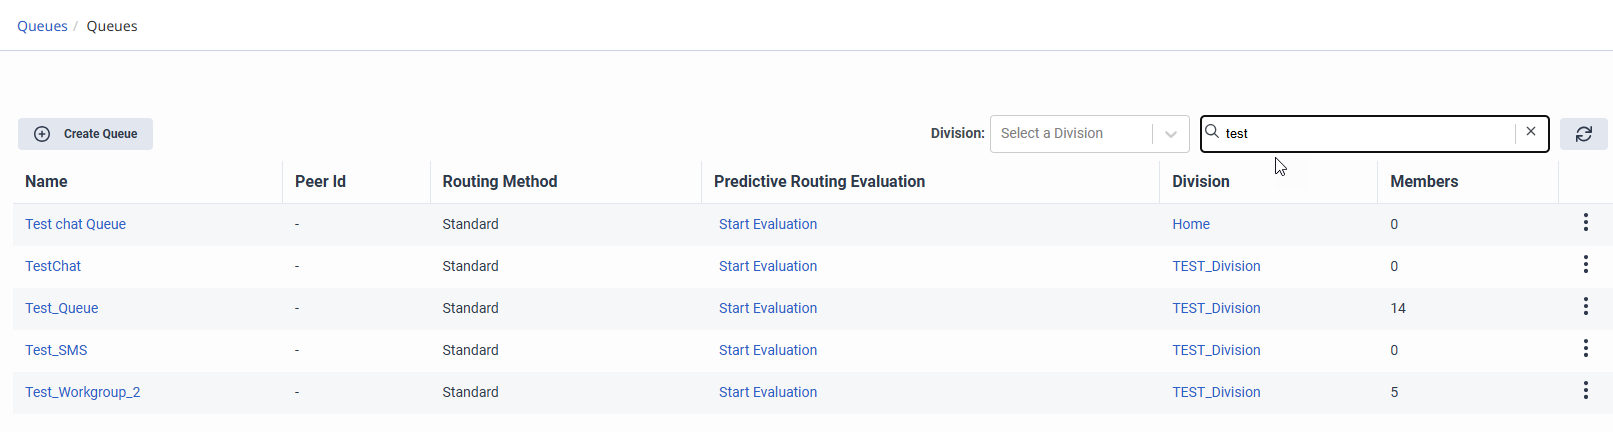
Select the name of the Queue to be modified to open the details. Alternatively the menu on the right side of the Queue name can be used to either Edit or Delete a Queue. Permissions will vary from contact center to contact center. Please contact your help desk supervisor for details on what permissions you have.
Adding a member to the queue is done by selecting the Members tab at the top of the Queue window.
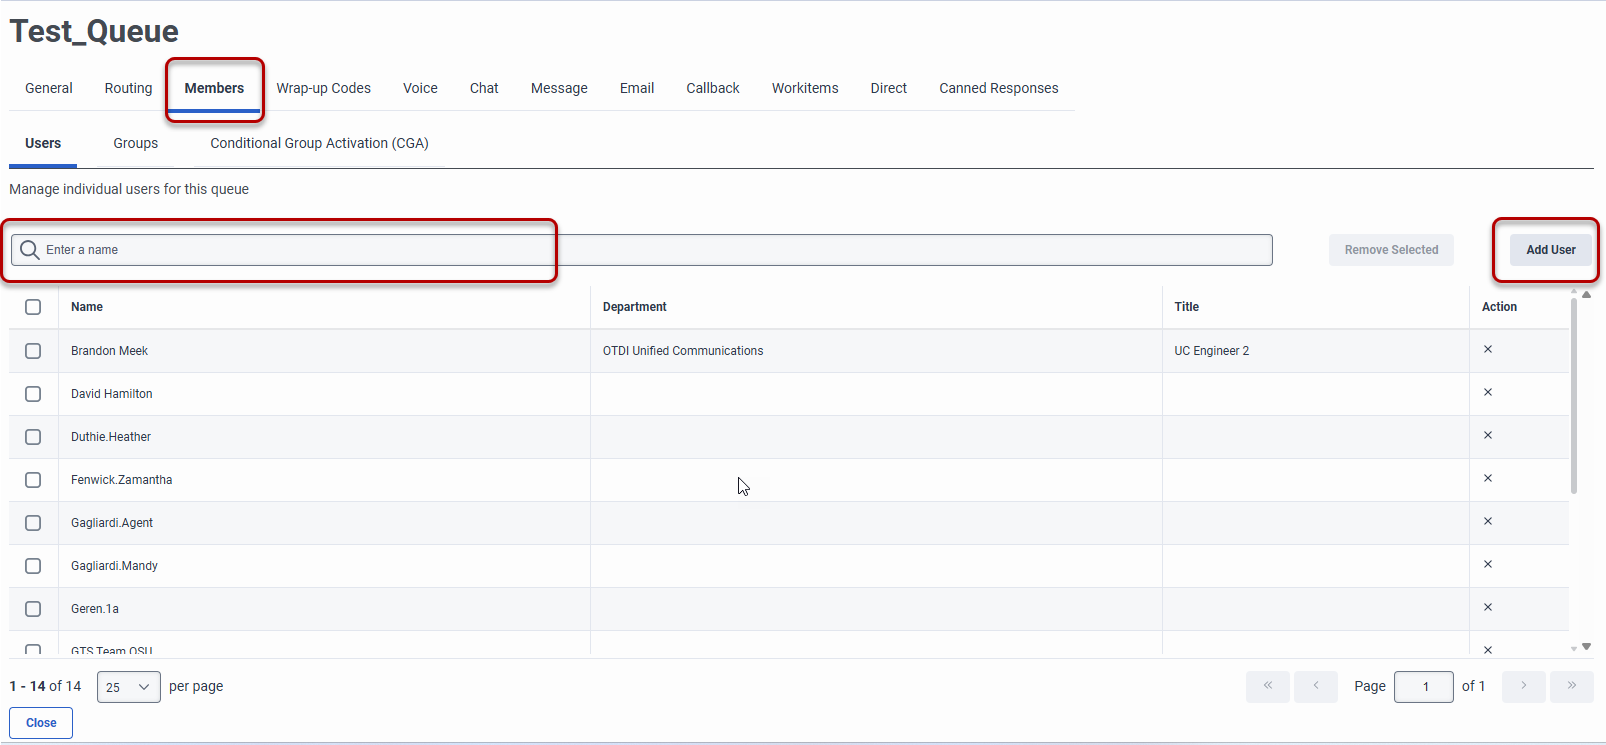
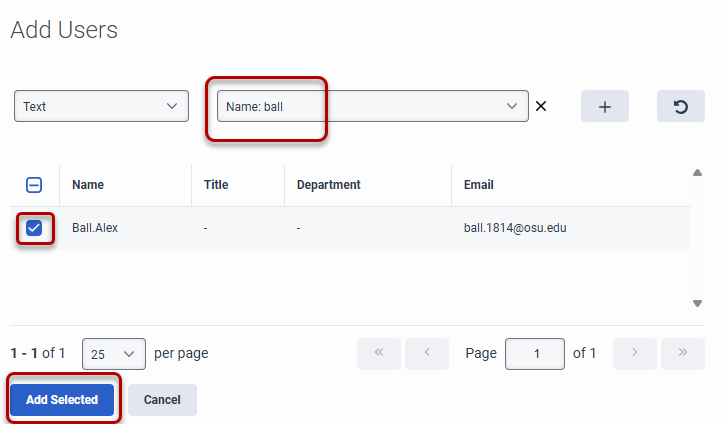
To add a user to the selected Queue click the Add User button on the right side of the screen. This will open the Add Users pane on the right side of the window. Search for the name of the agent(s) to be added to the Queue. Select the check box to the left of the correct user's name. Use the + to add additional users to be added to the Queue. Once all users have been selected, select Add Selected in the lower left hand corner of the panel
Remove a Member of a Queue
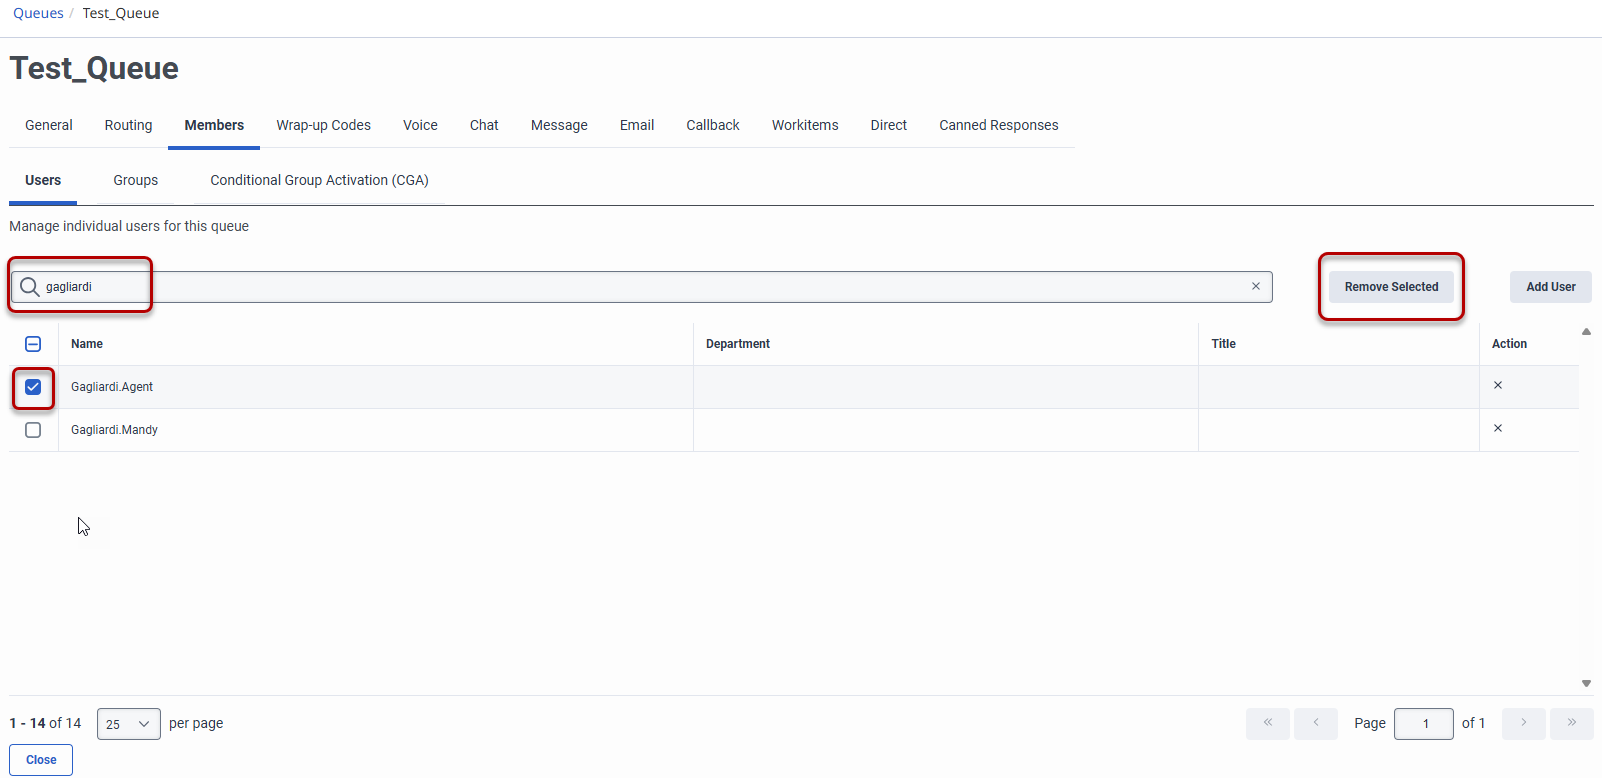
Agents can be removed from Queues as well. To remove a user from a queue navigate to the Member panel of the appropriate Queue. Search for the user to be removed using the Search field at the top.
Last modified: Oct 14, 2025