

The best method for moving files is to use the OneDrive client, NOT the Teams client, Teams on the web or OneDrive on the web.
Make sure you have the OneDrive client app installed on your desktop and you are signed in.
From the Teams client navigate to the Team with files you want to transfer.
Go to the Files tab of the channel, click the Sync button above the files.
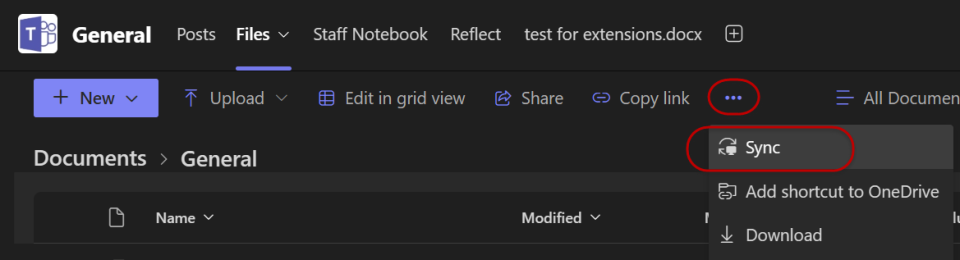
- This will connect the Teams files via OneDrive for access via the Finder (macOS) or File Explorer (Windows/PC)
- If you have already done this previously move to next step
After a few seconds and new window will open with a name like “OneDrive-SharedLibraries….” (macOS) or “The Ohio State University” (Windows/PC). You will also see this name in the left side view of your Finder (macOS) or File Explorer (Windows/PC) window
From the window that opens, navigate to the location containing the folder/files you want to transfer then drag and drop the folders and/or files to the new location.
- On a macOS device this will move the items to the new location, deleting from the original location.
- On a Windows/PC device this will copy the items to the new location, make sure to delete the original folder/file to save space. You can also hold the shift key to change the copy to a move operation.
The amount of time the copy/move will take depends on how large the files are and your network connection speed. We recommend if you are on a laptop to plug in to external power.
- Use the OneDrive client to move files in Teams
- On a Windows/PC device this is a copy and you will need to remember to delete the files to free up space
Last modified: Feb 24, 2025