

To utilize BuckeyePass you will need to first register a device. This article will walk you through the process.
Start by visiting the BuckeyePass site located at http://buckeyepass.osu.edu and select "Register / Manage Devices".
Once you visit the site you will need to authenticate and a message will display indicating the two-factor authentication method being used or options for setting up an account for the first time.
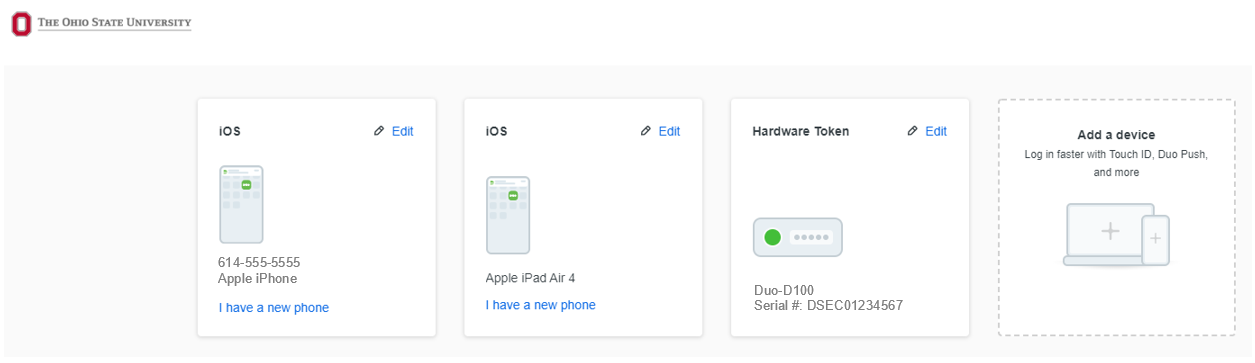
The Device Management site will display the currently enrolled devices.
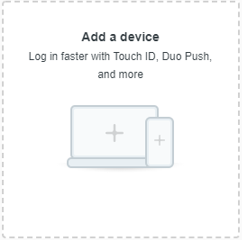
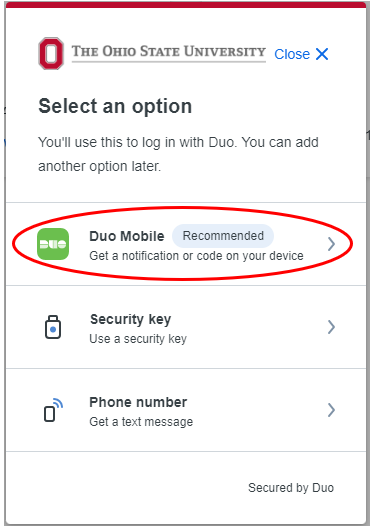
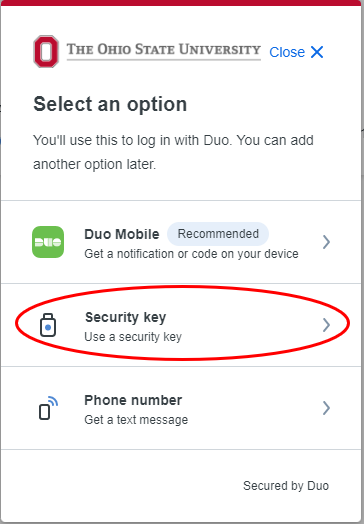
Next select the Add a Device button. The options are:
- Duo Mobile
- Security Key
- Phone Number
- Touch ID (see compatible devices)
- Face ID
- Mobile Touch ID
- Android Biometrics
- Windows Hello
The preferred method is a Security Key or the Duo Mobile App on a smart phone or tablet. Please see Installing the Duo Mobile App for details on how to install. These options are the fastest and the most secure. The Duo Mobile app provides the option to generate a passcode without a connection to the internet. It is strongly recommended to activate a secondary device and to maintain an active phone number for recovery purposes.
Duo Mobile
From the Device Management menu, select Add a device.
Then select the Duo Mobile option.
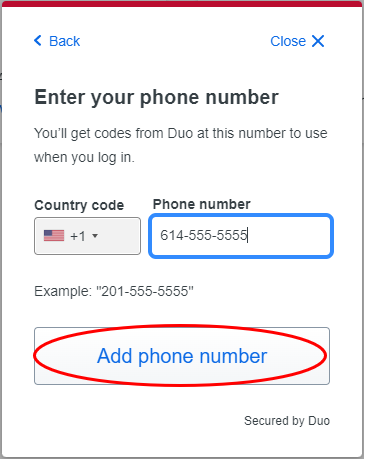
When using the Duo Mobile option, you will be presented with a screen requesting the phone number of the mobile phone you would like to register to your account (See instructions for using Duo Mobile on tablets below).
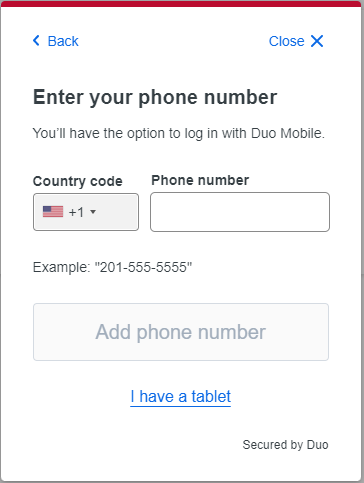
You will need to enter the complete phone number. Then click the Add phone number button. The dropdown defaults to the United States and can be changed to select a different country code when enrolling an international phone number.
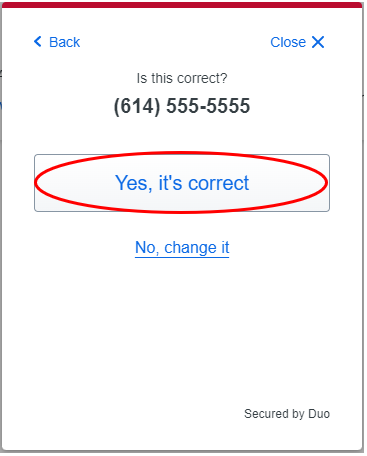
Next, verify the phone number was entered correctly and select Yes, it's correct
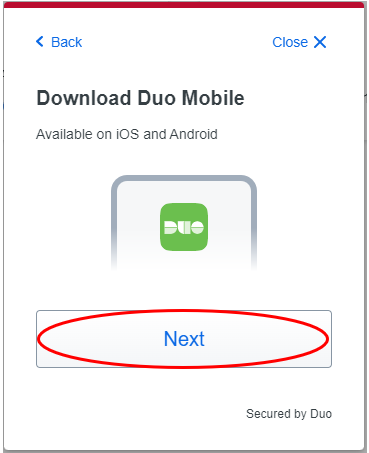
The next screen will prompt you to download the Duo Mobile App onto your device. If you have not installed it, please see Installing the Duo Mobile Application for details.
Once you have successfully installed the mobile app you can click the Next button to move forward.
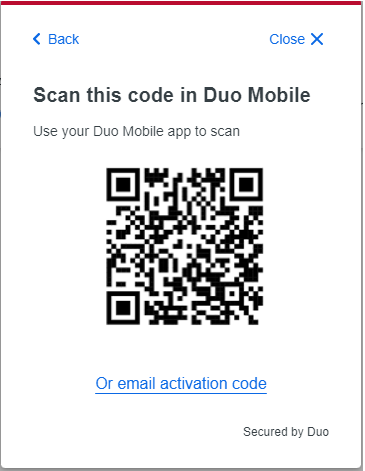
You will then be prompted to scan a QR Code to complete the process. Open the Duo Mobile App on your phone and scan the code. Once the QR code is scanned you can click the Continue button to move forward.
You will then be returned to the Device Management site.
Security Key
From the Device Management menu, select Add a device.
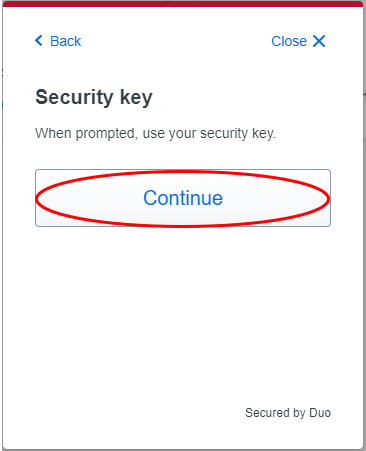
Select the Security Key option.
Then click Continue.
Then select the type of security key to enroll.
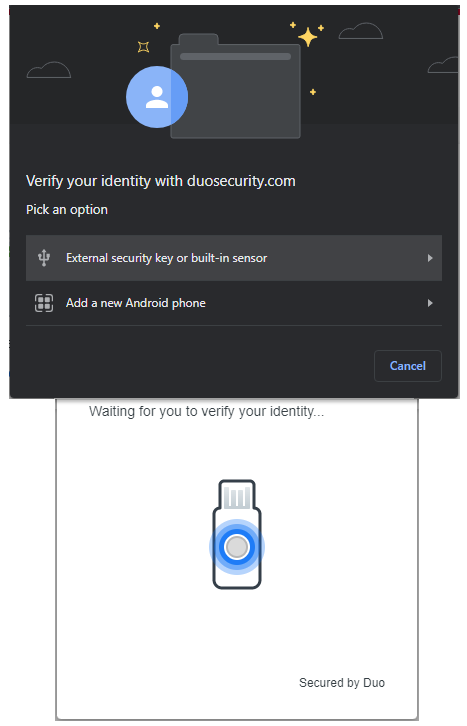
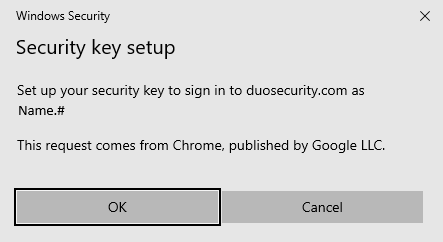
When selecting External security key or built-in sensor you will be prompted to approve the setup. Note: the prompts may vary depending on the operating system and browser being used during the enrollment process.
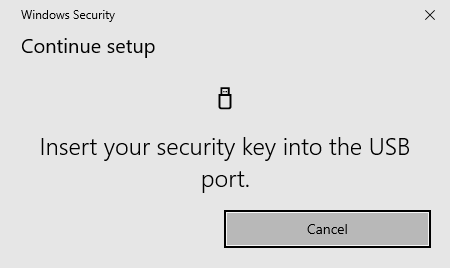
Insert your security key if prompted.
You will then be returned to the Device Management site.
Phone Number
From the Device Management menu, select Add a device.
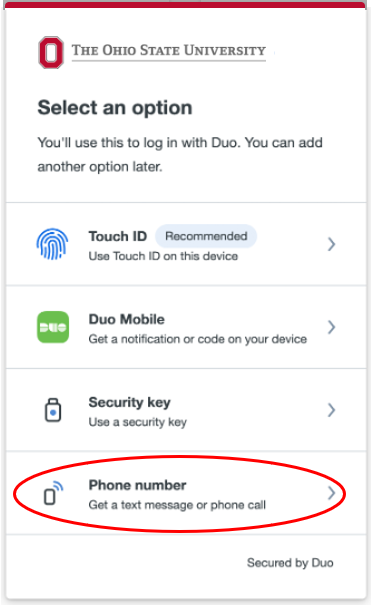
Select the Phone Number option.
You will need to enter the complete phone number. Then click the Add phone number button. The dropdown defaults to the United States and can be changed to select a different country code when enrolling an international phone number.
Next, verify the phone number was entered correctly and select Yes, it's correct
Click the Continue button to complete the device registration.
You will then be returned to the Device Management site.
Touch ID
MacOS devices that support Touch ID can now be enrolled in BuckeyePass. A Duo supported device with Touch ID and Google Chrome is required. To enroll your device, follow the steps below.
From the Device Management menu, select Add a device.
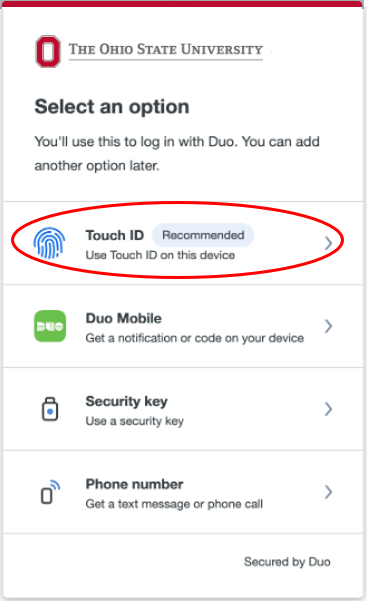
Select Touch ID and click Continue. If Touch ID is not an option, then your device and browser may not be supported. Google Chrome is required for Touch ID support.
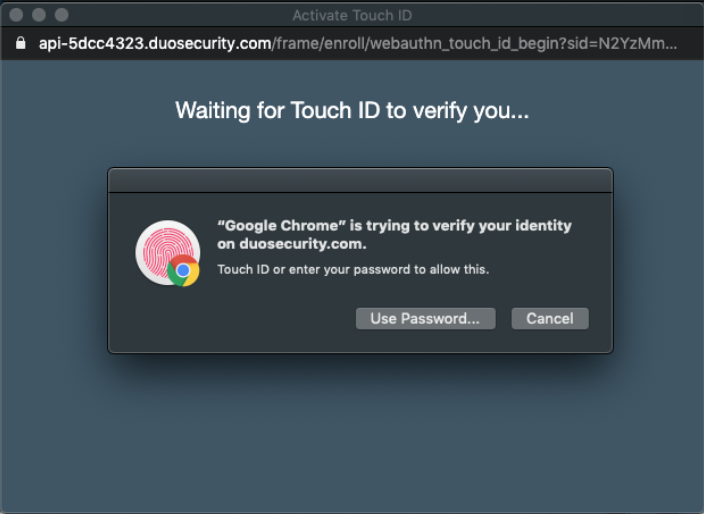
Chrome will prompt you to verify your identity. Your fingerprint never leaves your device, so BuckeyePass will not have access to your fingerprints.
Place your finger on the Touch ID button to complete the Touch ID enrollment.
Once completed click Continue.
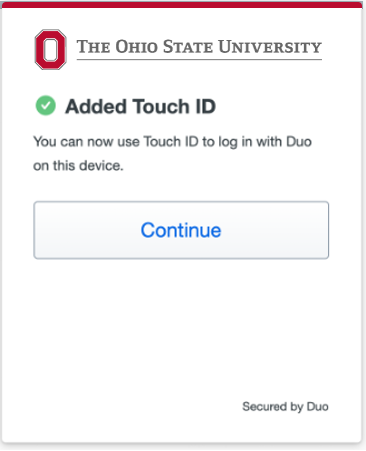
You will then be returned to the Device Management site.
Your Touch ID is now enrolled in BuckeyePass and can be used anywhere you see the BuckeyePass prompt in Google Chrome.
Face ID
These instructions are for adding iPhone or iPad using your Face ID device to access the device management portal.
Passkeys and Face ID must be configured on your smart phone or tablet prior to enrolling Face ID with BuckeyePass.
Learn how to set up Face ID and iCloud Keychain sync.
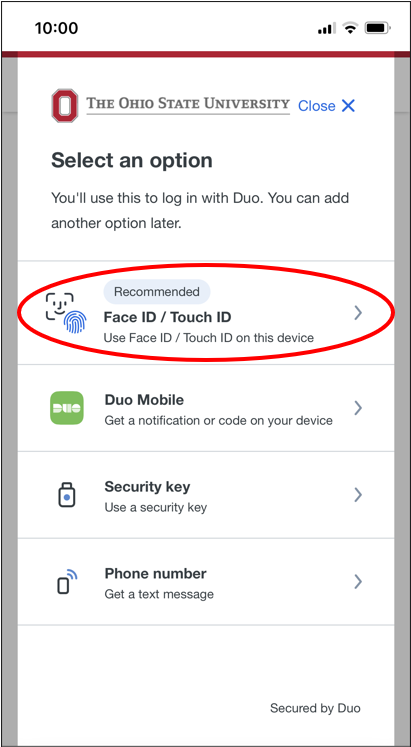
From the Device Management menu, select Add a device.
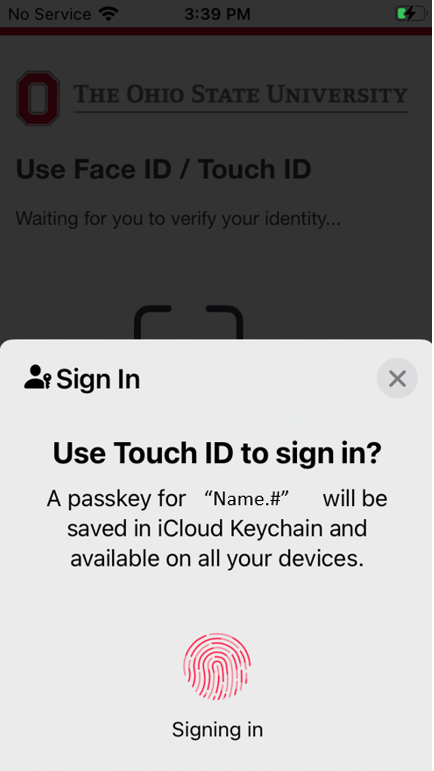
Select Face ID/Touch ID.
Select Continue on the next two prompts.
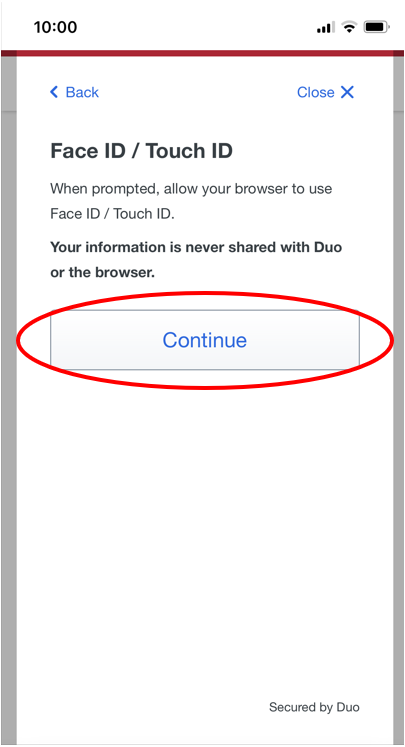

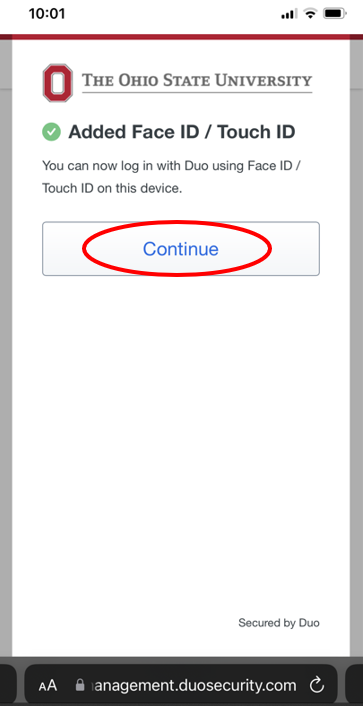
Complete the Face recognition and click Continue to complete the setup.
Alternative method for adding Face ID
These instructions are for adding iPhone or iPad using a different device to access the device management portal.
Both the Face ID device and the access device have to be connected to the Internet and have Bluetooth turned on. Passkeys and Face ID must be configured on your iPhone or iPad prior to enrolling Face ID with BuckeyePass.
From the Device Management menu, select Add a device.
Select Security Key.
Select Continue.
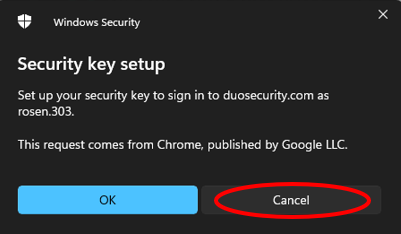
Click Cancel.
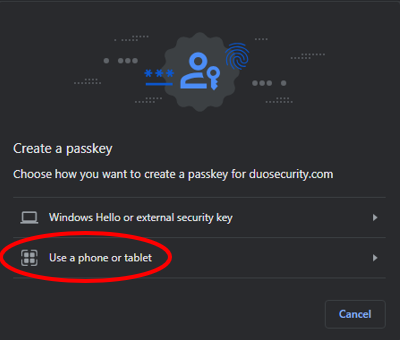
Click Use a phone or tablet.
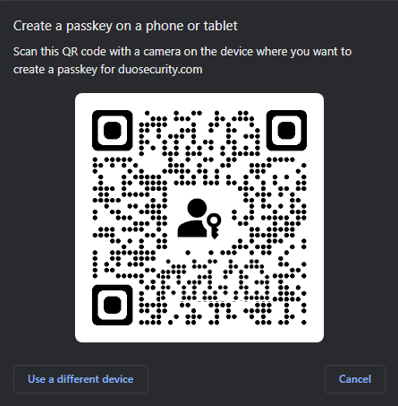
Scan the QR code using your iPhone or iPad that has Passkey, Face ID, and the Duo Mobile App already configured.
Follow the steps on your iPhone or iPad.
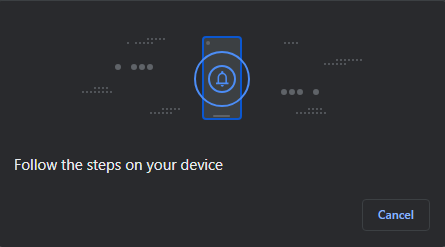
Complete the Face recognition and click Continue to complete the setup.

Mobile Touch ID
These instructions are for adding Touch ID using your iPhone or iPad to access the device management portal.
Passkeys and Touch ID must be configured on your iPhone or iPad prior to enrolling Touch ID with BuckeyePass.
Learn how to set up set up Touch ID andiCloud Keychain sync.
From the Device Management menu, select Add a device.
Select Face ID/Touch ID.
Select Continue on the next prompts.
Click Continue to complete the setup.
Android Biometrics
These instructions are for adding Android biometric device to access the device management portal.
Facial or fingerprint biometrics must be configured on the device prior to enrolling the device with BuckeyePass.
Facial or fingerprint unlock must be setup on the device. Go to Settings → Security to change your unlock settings. Refer to the Google support articles Unlock your Pixel phone with your fingerprint and Unlock your Pixel phone with your face, the Samsung articles Set up and use the fingerprint sensor on your Galaxy phone and Use Facial recognition security on your Galaxy phone, or your device manufacturer's support site for examples of how to do this.
From the Device Management menu, select Add a device.
Select Device verification.
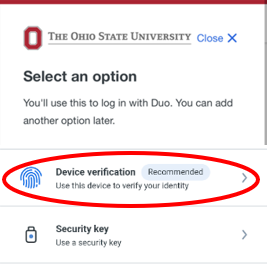
Click Continue.

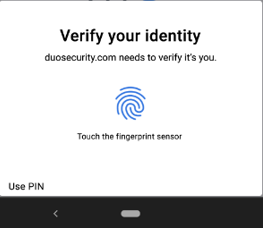
Follow the instructions to verify your biometric or pin based authentication.
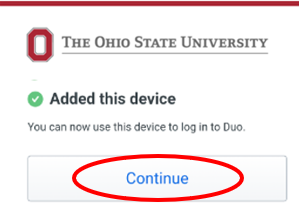
Click Continue.
Windows Hello
These instructions are for adding a Windows Hello compatible device using Facial recognition, fingerprint, or PIN. Learn how to set up Windows Hello at the Microsoft support site.
Chrome Incognito and Edge InPrivate browsing won't work with Windows Hello, but will work with Security Keys.
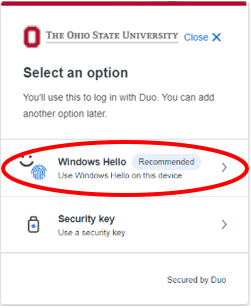
From the Device Management menu, select Add a device.
Select Windows Hello.
Click Continue.
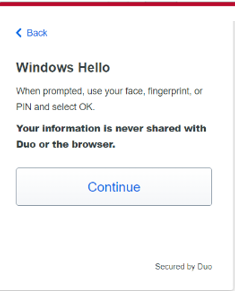
Follow the Windows Hello instructions to verify your identity by entering your PIN, scanning your fingerprint, or pointing your face to your camera.

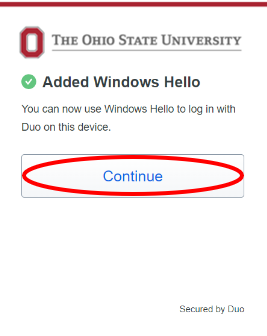
Click Continue to complete the setup.
For details on Device Management please see Manage Devices & Settings.
Last modified: Oct 25, 2023